As an Amazon Associate, I earn from qualifying purchases. This comes at no extra cost to you and helps keep this site running.
My first flight went about as well as you’d expect. I pulled the drone out of the box, skimmed the quick-start guide, assumed it was self-explanatory, and sent it about fifteen feet into a tree branch inside of two minutes. It wasn’t damaged — I was lucky — but it was a reminder that “intuitive” and “will not immediately crash if you don’t know what you’re doing” are two different things.
If you’re about to fly a drone for the first time, this guide will save you that learning tax. I’ll walk through what the controls actually do, what to check before you take off, how to handle your first few flights without panicking, and the specific mistakes that trip up nearly every new pilot. None of this is complicated once you know it. The trick is just knowing it before you go, not while something expensive is hovering at 30 feet and you’re not sure which stick does what.
What’s in This Guide
1. Know the Rules Before You Fly
Before the fun stuff, the short version of what the FAA requires for recreational drone pilots in the US. None of this is complicated, and it takes about ten minutes to absorb once.
The core rules for recreational pilots:
— Fly at or below 400 feet above ground level in uncontrolled airspace
— Keep the drone within your visual line of sight at all times
— Avoid manned aircraft — if you see a plane or helicopter, land
— Never fly over people or moving vehicles
— Don’t fly near airports without authorization (within 5 miles of controlled airports, you need LAANC approval)
— Register your drone if it weighs 250g or more ($5 via the FAA DroneZone website)
Before any flight, check B4UFLY — it’s the FAA’s free app that shows you whether you’re in controlled airspace, near airports, or in any restricted area. Download it now, before your first flight. It takes 30 seconds to check and can save you a significant fine or worse.
The good news: if you have a GPS drone (which most modern consumer drones are), the drone itself will often refuse to take off in restricted airspace. DJI drones have geofencing built in that blocks takeoff near airports, for example. But don’t rely on the drone to enforce the rules — know them yourself, and use B4UFLY to confirm before you fly anywhere new.
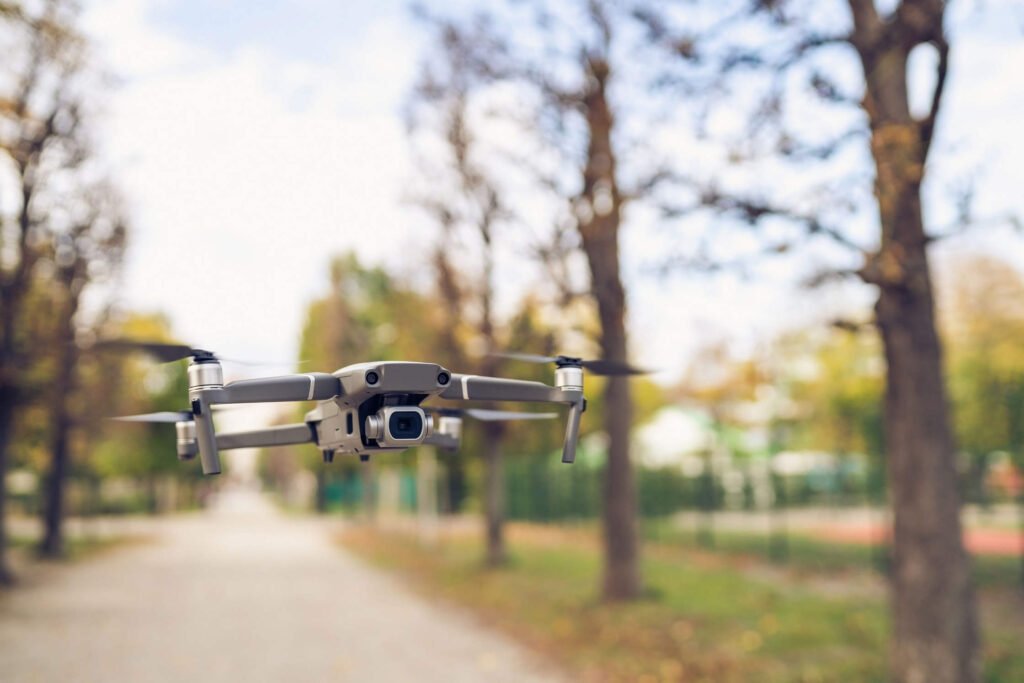
2. Understanding Your Controller
A drone controller has two joysticks. That’s essentially it. Each joystick controls two axes of movement, and once you understand what each one does, everything else follows naturally. Most consumer drones use what’s called “Mode 2” by default — which is the layout we’ll cover here.
Left Stick (Throttle & Yaw)
- Up: Increases throttle — the drone goes higher
- Down: Decreases throttle — the drone descends
- Left: Yaw left — the drone rotates to the left without moving
- Right: Yaw right — the drone rotates to the right without moving
Right Stick (Pitch & Roll)
- Up: Pitch forward — the drone flies forward
- Down: Pitch backward — the drone flies backward
- Left: Roll left — the drone slides left without rotating
- Right: Roll right — the drone slides right without rotating
The most important thing to understand is that “forward” means forward relative to the drone, not relative to you. When the drone is facing away from you, pushing the right stick up moves it away from you — that’s intuitive. But when the drone is facing toward you, pushing right stick up moves it toward you, and left/right are reversed. This is the thing that catches new pilots off guard, and it’s why your first flights should involve keeping the drone in front of you and facing away until you’re comfortable.
Quick tip: In your early flights, keep the drone nose-out (facing away from you) as much as possible. It keeps the controls intuitive. Once you’re more comfortable, practice slow 180° turns so you start getting used to how the controls feel when the drone is oriented toward you.
Most GPS drones also have a Return to Home button — usually marked RTH or with a house icon. In an emergency, pressing this will cause the drone to climb to a preset altitude and fly back to the launch point automatically. Know where this button is before you take off. It’s your emergency eject.
3. Pre-Flight Checklist
Do this every time — not just the first time. It takes under five minutes and it’s the difference between a great flight and an avoidable problem.
Before Every Flight
- Battery fully charged — don’t fly on a battery that’s below 20% from a previous session. Most drones will warn you, but start fully charged anyway.
- Controller battery charged — controllers run on internal batteries or AA cells. Check before you go, not when you’re already at the field.
- Propellers inspected — look at all four (or six) props for cracks, chips, or warping. A cracked prop can fail mid-flight. Replace it before flying, not after.
- MicroSD card inserted — if you’re planning to record footage, confirm the card is seated. Nothing worse than getting home and realizing you recorded nothing.
- Firmware up to date — most drones check for firmware when you open the app. Update if prompted before takeoff, not mid-session.
- Airspace checked — open B4UFLY and confirm you’re in the clear for your location.
- Return to Home altitude set — in the app, set your RTH altitude to be higher than any obstacles between you and the drone (trees, buildings). Do this before each flight if your surroundings change.
- Flight area is clear — no people walking through your landing zone, no overhead power lines, no unexpected obstacles in your planned flight path.
- Home point confirmed — wait for the GPS lock to register your takeoff point as “Home” in the app before you take off.
4. Your First Flight, Step by Step
Your first flight should be boring. That’s the goal. A boring, controlled, predictable flight where you get comfortable with the controls and land with everything intact. Save the cinematic stuff for flight number ten.
Find a Wide Open Space
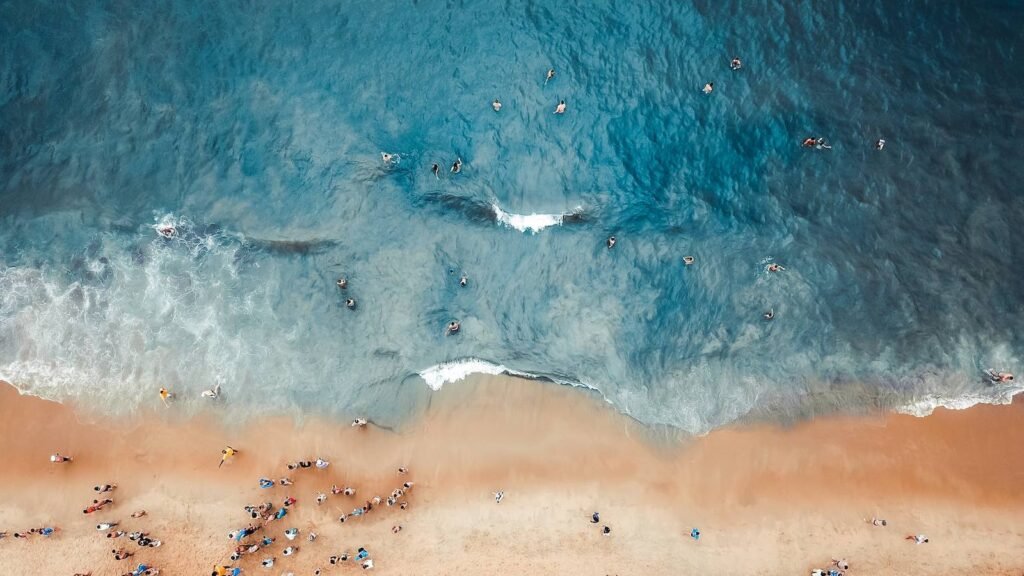
A large empty park, an athletic field, or a rural open area. You want at least 100 meters of clearance in every direction and no overhead power lines. Avoid flying near people, roads, or buildings for your first session. The goal is zero variables — just you, the controller, and the drone.
Power On the Controller First, Then the Drone
This is the standard sequence for most consumer drones. Turning on the controller first establishes the command link before the drone is live. Then power on the drone, wait for it to connect to the controller (usually indicated by a solid or slowly flashing LED), and open the companion app.
Wait for GPS Lock — Don’t Skip This
Set the drone on flat, level ground and let it sit for 30–60 seconds before arming. It’s acquiring GPS satellites and setting your Home point. The app will show you satellite count — aim for at least 6 before taking off, more is better. Flying without solid GPS lock means no position hold and no reliable Return to Home if something goes wrong.
Take Off Slowly — Rise to 3–5 Meters
Arm the motors (usually holding both sticks inward or pressing a button in the app — check your drone’s manual). Then push the left stick up gently until the drone lifts off and reaches about 3–5 meters. Stop there. Let it hover. Take a breath. Get used to how it feels to have the drone in the air before you do anything else.
Most GPS drones will hold their position remarkably well — just let go of the sticks and it’ll sit there. That’s the magic of GPS stabilization. Enjoy it. Then start making small, deliberate movements.
Practice Hovering — Then Small Movements
Hover for a minute. Then push the right stick forward slightly and bring it back to center. Then slightly backward. Then slightly left. Then slightly right. Small inputs, slow movements, bring it back to hover between each one. You’re building muscle memory for how the drone responds, not trying to make it do tricks.
When you’re comfortable with forward/back/left/right, try a slow yaw (rotate) using the left stick. Turn it 45 degrees, then back. Then 90 degrees, then back. Keep the altitude constant throughout with gentle left stick adjustments as needed.
Land Deliberately
For your first landing, fly the drone back to a clear spot near you, reduce altitude slowly by easing the left stick down, and let it settle. Give yourself more room than you think you need — don’t try to land in a precise spot on your first flight. Most GPS drones also have an auto-land function in the app. Using it for your first few landings is completely fine.
Landing tip: Never cut the throttle suddenly from height — ease it down gradually. And keep people and pets well clear of the landing zone. Drone props spin fast and will cut skin on contact.
Power Down Drone First, Then Controller
The reverse of startup — drone off first, controller off second. Then remove and cap the battery, fold up the props if applicable, and pack everything up. Check the footage in the app if you were recording to make sure it saved correctly.
5. Basic Maneuvers to Practice
Once you’re comfortable hovering and moving in cardinal directions, these are the fundamental maneuvers to build toward. None of them are difficult — they’re just combinations of the stick inputs you already know.
The rectangle: Fly forward, stop, strafe right, stop, fly backward, stop, strafe left, stop — back to start. Repeat in the other direction. This is the fundamental control exercise because it isolates each direction and makes you practice stopping cleanly between movements.
The figure 8: Fly a figure 8 pattern at low altitude, keeping the nose of the drone pointed in the direction of travel. This requires combining pitch (forward) and roll (sideways) inputs simultaneously, and it starts to build the smooth coordination that produces good aerial footage.
The point of interest orbit: Pick a tree, a cone, or any landmark at medium distance. Fly around it in a circle while keeping the camera (and nose of the drone) pointed at the landmark throughout. This requires combining forward/backward with sideways and yaw simultaneously — it’s the building block of cinematic orbits and the most satisfying thing to land when you first get it smooth.
Facing-toward practice: Fly the drone out about 50 meters, turn it to face you, and practice movements. Remember that forward is now coming toward you and left/right are reversed. Low altitude, slow movements, and give yourself space to course-correct. This is disorienting at first and comfortable after an hour of practice.
6. Common Beginner Mistakes
✗ Flying too far before you’re comfortable
The temptation to send the drone way up or way out on the first flight is strong. Resist it. Distance makes everything harder — you lose spatial awareness, inputs feel delayed, and if something goes wrong, you have less time to react. Stay close for the first several sessions.
✓ Keep the drone within 50 meters until hovering and basic movements feel automatic.
✗ Ignoring the battery warning
Most drones give you low battery warnings at 30% and again at 15%. New pilots often push through the 30% warning because “it still has 30% left.” By the time the 15% warning hits, you may not have enough battery to fly home safely — especially if you’re at distance. The drone will force a landing wherever it is when the battery is critically low.
✓ Head back when you hit 30% remaining. Land with buffer to spare, especially early on.
✗ Panicking and overcorrecting
When something unexpected happens — a gust of wind, a sudden direction change — new pilots tend to input large, sudden corrections that make the situation worse. A drone heading slightly off course needs a small, calm correction. A panicked yank on the sticks sends it somewhere much worse.
✓ When in doubt, let go of the sticks. A GPS drone in hover mode will stabilize on its own. Take a breath, then make a small correction.
✗ Flying with the sun behind the drone
When the sun is between you and the drone, glare makes it nearly impossible to see the drone’s orientation LED or to tell which direction it’s facing. Flying blind — even briefly — is how new pilots lose track of the drone’s heading and make a wrong input.
✓ Position yourself so the sun is behind you or to your side. If you lose track of which way the drone is facing, use the app’s map view to orient yourself, or press RTH.
✗ Not setting the RTH altitude
Return to Home climbs to your preset altitude before flying back. If that preset is lower than the trees around you, RTH flies straight into them. This is one of the most common avoidable accidents for new pilots.
✓ Before every flight, set RTH altitude to at least 30 meters — higher if you’re near tall trees or buildings. Check this in the app’s safety settings.
✗ Arming the drone with people nearby
Drone propellers are sharp and spin very fast. A crash or unexpected arm at low altitude with bystanders nearby is a real hazard. New pilots sometimes forget that bystanders don’t know to keep clear.
✓ Create a clear perimeter of at least 5 meters before arming motors. Brief anyone nearby before you fly. Keep children and pets well away from takeoff and landing zones.
7. When to Fly (and When to Stay Grounded)
Wind is your biggest enemy as a new pilot. Most consumer GPS drones are rated to handle winds around 15–25 mph, but that doesn’t mean they’ll produce good footage in those conditions — and it doesn’t mean you’ll feel comfortable flying in them. For your first flights, aim for wind under 8–10 mph. If tree leaves are barely moving, that’s ideal. If they’re swaying consistently, wait for a calmer window.
Morning is usually the best time to fly. Wind speeds tend to be lowest in the early morning hours before the sun heats the ground and creates convection. If you’re serious about smooth footage, early morning is your window. The golden-hour light doesn’t hurt either.
Don’t fly in: Rain or drizzle (most consumer drones have no water resistance), fog or reduced visibility, sustained winds above 15 mph for a first-timer, below-freezing temperatures without a battery designed for it (cold kills drone batteries fast — you may get half your rated flight time), or at dusk without checking that your area allows nighttime flying (additional FAA rules apply for recreational night flying).
Visibility and orientation matter more than most guides admit. Even in good weather, flying into a bright sky or against a complex background makes it hard to see the drone and judge its orientation. Fly with a clear sky or light cloud cover behind the drone when you can, and keep the drone at an altitude and distance where you can clearly see its shape and orientation.
Frequently Asked Questions
Do I need to register my drone before flying?
In the US, recreational drones weighing 250g or more must be registered with the FAA — it costs $5 and is done online at the FAA DroneZone. Drones under 250g (like the DJI Mini 4K or Potensic ATOM SE) don’t require registration for recreational use. That said, all FAA rules still apply regardless of drone weight, including airspace restrictions and the line-of-sight requirement.
How high can I fly?
The FAA limits recreational drone pilots to 400 feet above ground level in uncontrolled airspace — and significantly lower (or not at all) near airports and other controlled airspace. Most consumer drones let you set a maximum altitude in the app; set it at or below 400 feet (about 120 meters). Always check B4UFLY before flying anywhere new.
What if I lose signal or the drone flies away?
Most GPS drones are programmed to trigger Return to Home automatically if the controller signal is lost for more than a few seconds. The drone will climb to your preset RTH altitude, fly back to the Home point, and land. This is why setting the correct RTH altitude before every flight matters so much — make sure it’s high enough to clear any obstacles in the path home.
Can I fly a drone in a public park?
It depends on the park and where it’s located. Many local parks allow drone flying — but some prohibit it, and national parks ban drones entirely. On the airspace side, if the park is within controlled airspace near an airport, you’ll need LAANC authorization. Check B4UFLY for airspace clearance, and check the park’s own rules (usually posted at the entrance or on the city/county website) before you fly.
How long will it take to get comfortable flying?
Most people feel comfortable with basic hovering and simple movements after 3–4 sessions. Smooth, deliberate flight that looks good in footage takes longer — closer to 10–15 hours of total flight time for most people. The good news is that modern GPS drones make the basics forgiving enough that you can focus on learning to fly well rather than just avoiding crashes.
Should I practice on a simulator first?
It’s worth considering, especially if you want to learn FPV flying or want to build muscle memory before flying an expensive drone. Free options like the DRL Simulator let you get a feel for stick inputs without risk. For camera drone flying specifically, GPS stabilization is forgiving enough that most new pilots can learn on the real thing without a simulator — just start with a more affordable drone rather than a $700 unit.
My drone is drifting when I hover — is something wrong?
A little drift is normal if GPS lock isn’t strong. Make sure you’re waiting for a solid GPS fix before takeoff (6+ satellites in the app). Outdoor flying in an open area with clear sky view will give you the best position hold. If the drone drifts significantly even with good GPS, it may need calibration — check the compass and IMU calibration in the app settings.
Good Drones for First-Time Pilots
If you’re still shopping for your first drone, GPS stabilization is the single most important feature to look for. It’s what makes hovering forgiving, makes position hold automatic, and gives you Return to Home when something goes wrong. Don’t start with a toy quad that has no GPS — the learning curve is significantly steeper and the crash rate is much higher.
DJI Mini 4K
Under 249g, 3-axis mechanical gimbal, DJI O2 10km transmission, 31-minute flight time. The most beginner-friendly GPS camera drone at this price — reliable, stable, and the footage is excellent right out of the box. Around $209.
Check Price See full roundup →Potensic ATOM SE
Under 249g, Sony CMOS camera, Follow Me, Orbit, and Waypoints modes that DJI Mini 4K doesn’t offer at this price. 31-minute flight time. Great for creators who want automation from day one. Around $250.
Check Price Read the full review →Want more options? The full comparison of GPS drones in the $150–$300 range is in our Best Drones Under $300 guide. If you’re open to spending up to $500, the Best Drones Under $500 roundup covers the step-up options worth considering.
Last updated: June 2026. FAA rules referenced are current as of publication — always verify current regulations at faa.gov before flying.